Why this works
“Perfectly centered,” “standing upright,” and “straight-on” lock the sphere into a stable product-photography composition, while the “pure white background” removes competing visual information. “Transparent teal glass,” “soft highlights,” “subtle reflections,” and “controlled specular highlights” create the polished teal and sky-blue color presence without making the surface look metallic. The clean, elegant mood comes from the combined phrases “clean minimal aesthetic,” “studio-lit look,” and “crisp edges,” while the “faint teal-tinted shadow” and “gentle side-cast shadow” add depth without breaking the sparse layout.
FAQ
→How do I make the sphere feel more dramatic and less like a catalog product shot?
Replace “pure white background” with “deep charcoal gradient background,” change “soft highlights” to “hard directional rim light,” and replace “faint teal-tinted shadow falls gently to the side” with “long, sharply defined shadow cast diagonally across the surface.” Keep “transparent teal glass” and “controlled specular highlights” to preserve the material identity.
→How do I make the glass sphere larger and more visually dominant?
Replace “perfectly centered” with “large sphere filling most of the frame,” and change “product-photography framing” to “tight close-up product framing.” Add “minimal empty margin around the sphere” while keeping “standing upright” and “straight-on” if you want the enlarged object to remain symmetrical.
→How do I create a consistent series of variations from this prompt?
Keep the fixed phrases “straight-on, centered composition,” “pure white background,” “clean minimal aesthetic,” and “controlled specular highlights,” then swap only “transparent teal glass sphere” for variants such as “transparent amber glass cube,” “frosted cobalt glass cylinder,” or “clear rose glass oval.” Adjust “faint teal-tinted shadow” to the matching material color, such as “faint amber-tinted shadow,” so each image shares the same lighting and layout.
Learn the technique behind this
- Why can't AI spell, and how do I get readable text in an image? — Older diffusion models had no character-level representation of text, so they produced letterform-shaped texture instead of words.
- How should a prompt be structured, and does word order matter? — A prompt that behaves predictably names one subject first, then what it is doing, then where, then the light, then the lens or medium, then the style.
- Why does the model ignore parts of my prompt? — Ignored instructions are almost always conflicts, counts, or spatial relationships — three things current models handle badly — rather than the model failing to read you.
Related prompts
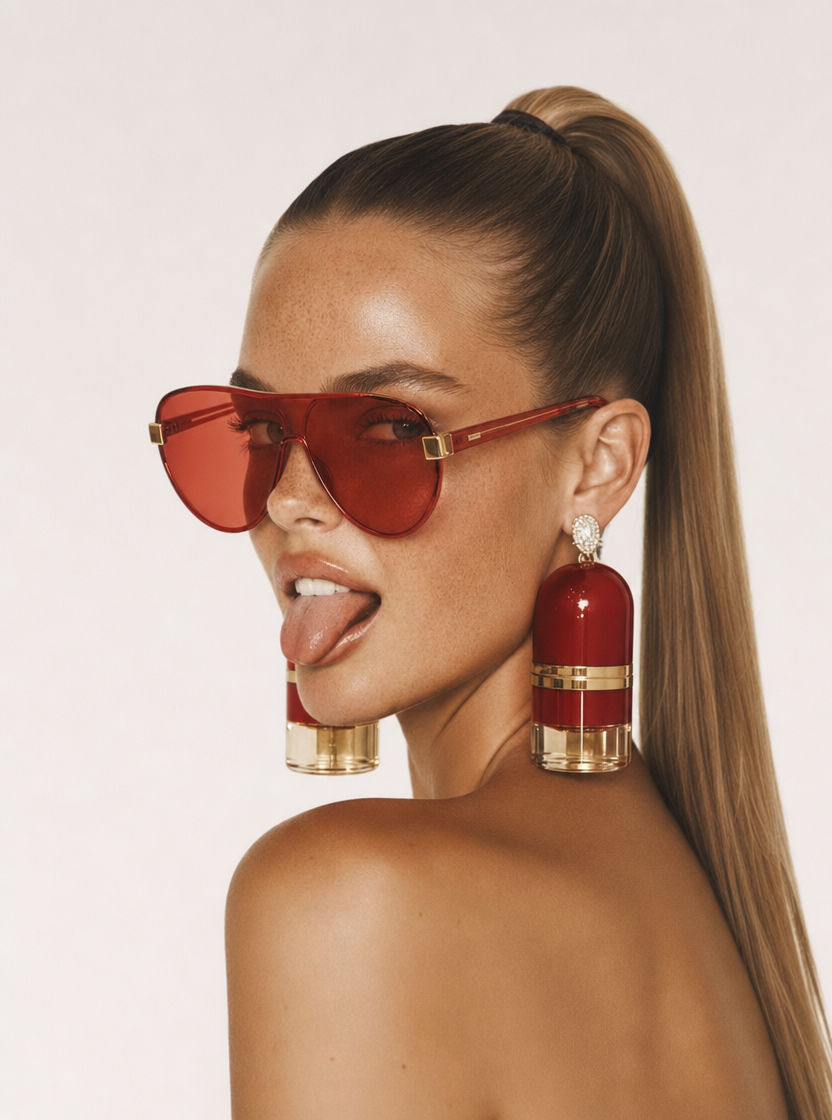
Playful brunette beauty ad portrait
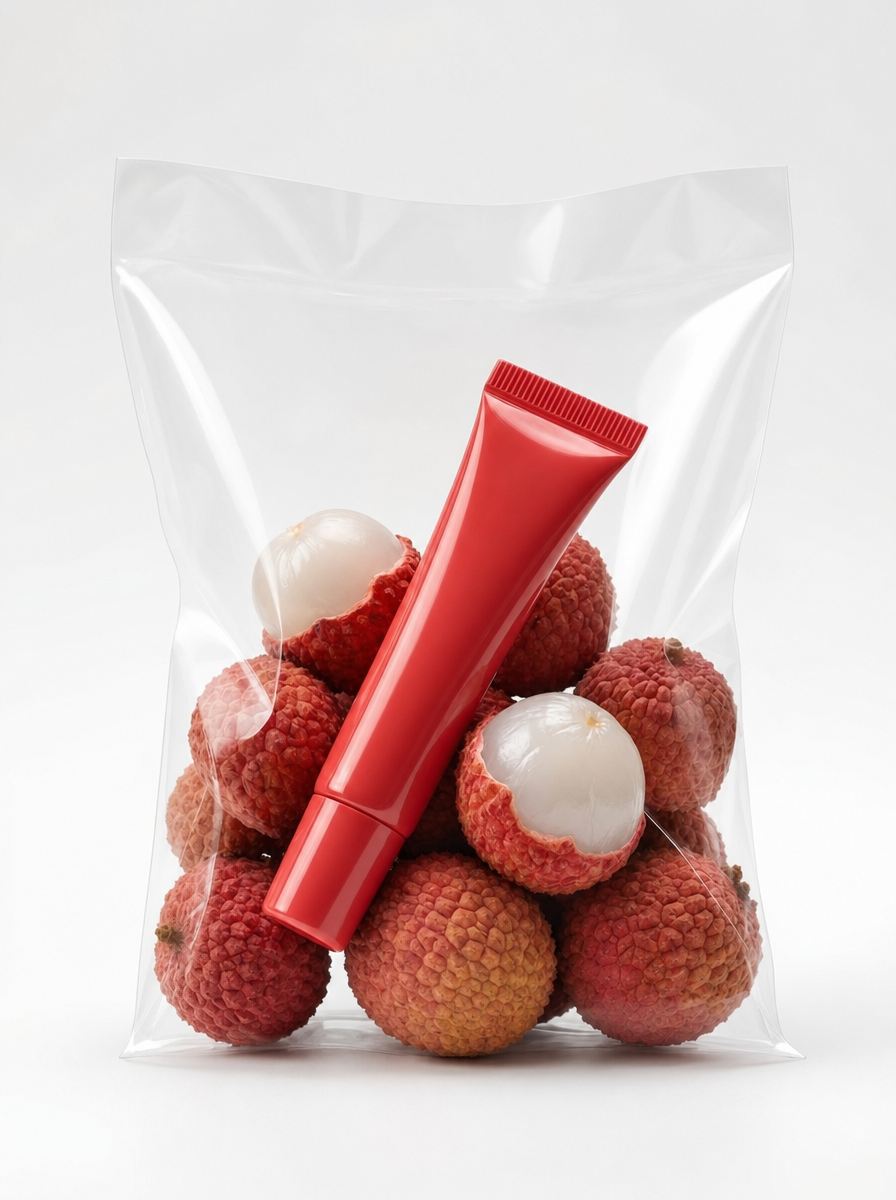
Red Lip Balm with Lychee Freshness
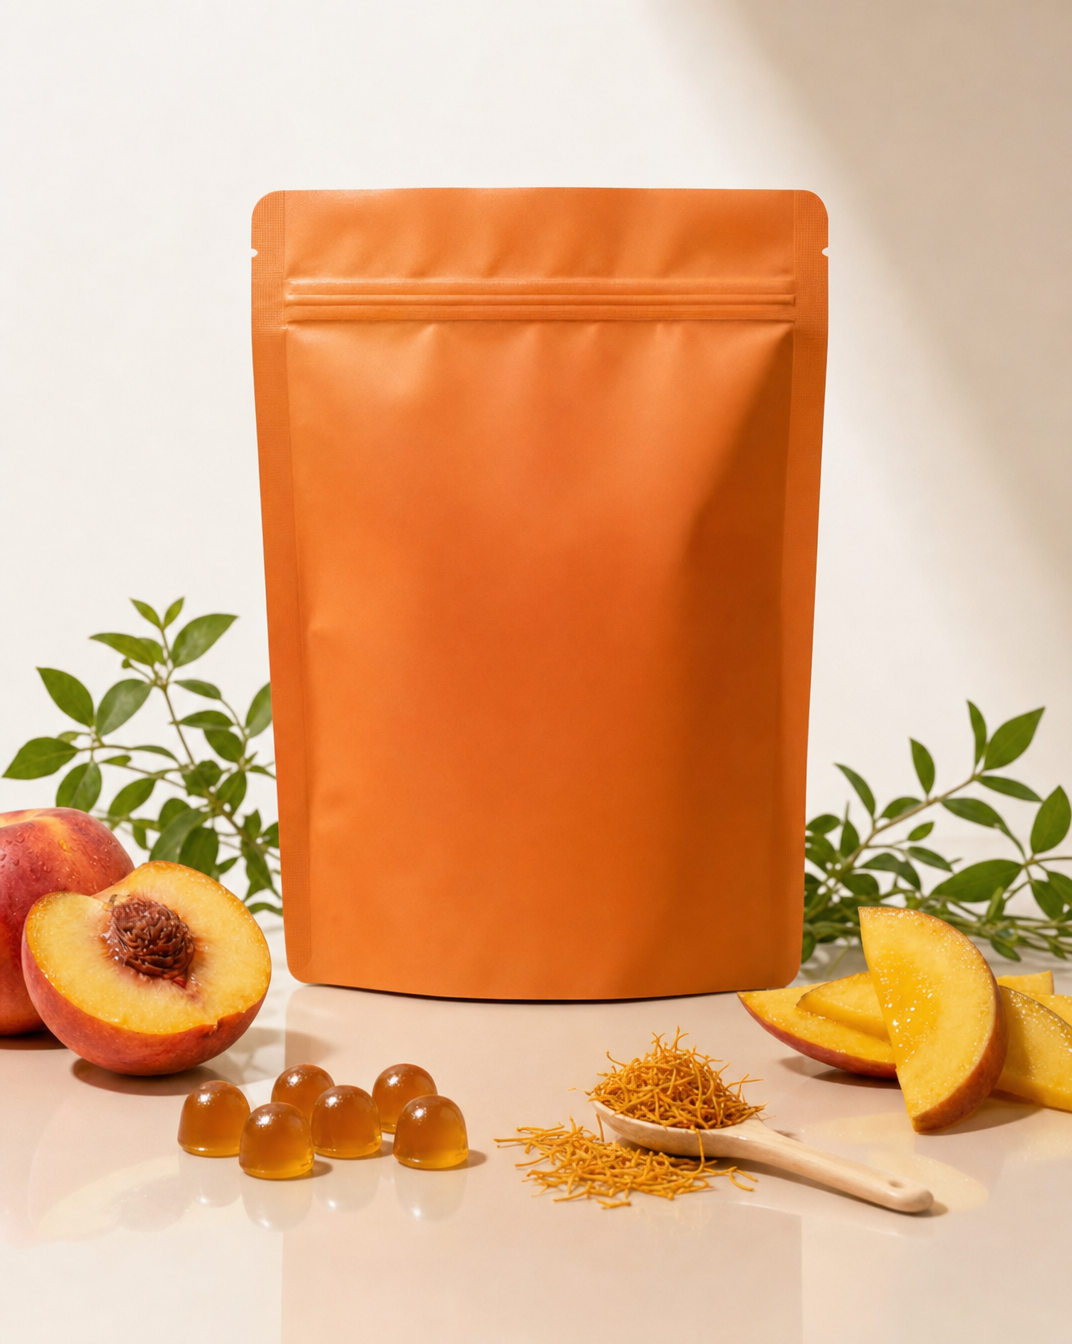
Premium wellness pouch with golden spices
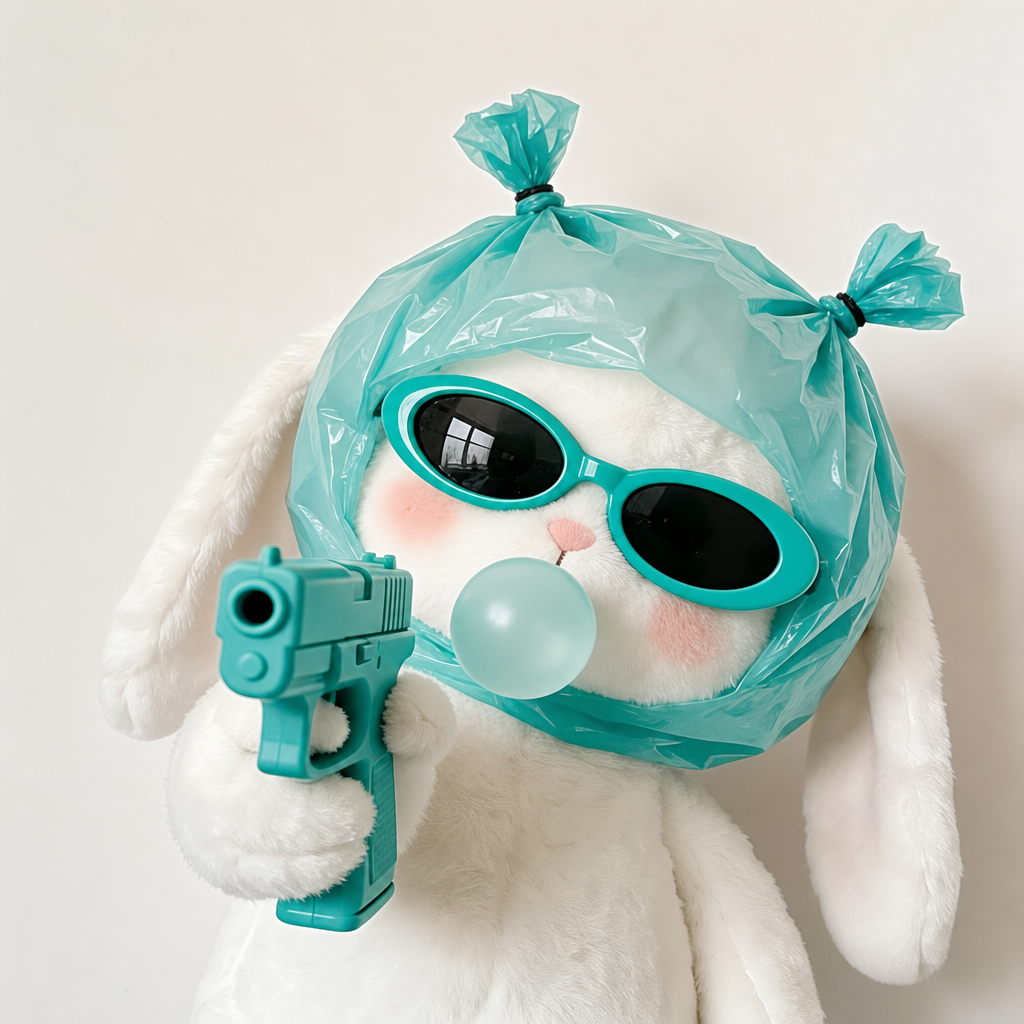
Teal-Accented Bunny Toy Studio Portrait